
Your kitchen is dated. You know it. The oak cabinets, the laminate countertop with the burn mark near the stove, the fluorescent light box that makes everything look like a hospital corridor. And then you get a quote for a full remodel and nearly fall off your chair.
Here's the good news: you do not need $40,000. Most of what makes a kitchen feel tired has nothing to do with layout, plumbing, or structure. It's surface. And surface is exactly where a budget-friendly kitchen remodel can win.
I've done two of these now, and I made plenty of mistakes along the way. One that cost me a weekend and about $180 in wasted materials. I'll show you where I went wrong so you don't repeat it.
Key Takeaways
- Paint and hardware deliver the biggest visual change for the least money — often under $300 total.
- Prioritise what buyers and appraisers actually notice: cabinet fronts, lighting, and the countertop. Skip anything else first.
- Prep work is 70% of the job. Skipping degreaser on cabinets is the single most common DIY failure.
- Peel-and-stick products only work on smooth, sound surfaces. On damaged tile or laminate, they peel within months.
- Salvage and surplus yards can cut material costs by half, if you're willing to measure twice and drive a bit.
Where your money actually goes in a budget-friendly kitchen remodel
Before you buy anything, understand the cost structure. A full kitchen remodel in 2026 typically runs from $25,000 to $80,000 depending on size and region — and the bulk of that is labour and cabinetry, not materials. That's why the budget-friendly approach flips the equation: you keep the boxes, the layout, and the plumbing, and you change what you can see and touch.
Here's roughly how the spending splits in a cosmetic-only refresh:
| Item | DIY cost | Hired-out cost | Visual impact |
|---|---|---|---|
| Cabinet painting (20 doors) | $200–$450 | $1,800–$4,000 | Very high |
| New hardware (handles, knobs) | $80–$250 | $80–$250 + labour | High |
| Backsplash (peel-and-stick) | $120–$400 | $600–$1,500 | Medium-high |
| Lighting swap (2–3 fixtures) | $150–$500 | $400–$1,200 | High |
| Countertop refinishing kit | $150–$350 | $900–$2,500 | Medium |
Add it up and you're looking at under $1,500 for a full cosmetic refresh you do yourself. That's a fraction of one percent of a gut renovation — and if your kitchen's bones are fine, it's the smartest money you'll spend.
Which upgrade actually pays you back?
If resale value matters to you, sequence your spending by return, not by what annoys you most. Cabinet fronts and lighting come first: they're what people register in the first three seconds of walking in. Countertops come second. Flooring and backsplash are nice-to-haves that rarely move an appraisal on their own.
In my opinion, painting the cabinets is the single highest-ROI move in the entire kitchen, full stop. I'd argue that point with anyone.
The paint job that actually lasts (and the mistake I made)
First attempt, I sanded lightly, wiped with a damp cloth, and rolled on a cabinet paint I'd bought because the tin looked nice. Six weeks later, the paint around the handles was peeling in ribbons.
The problem? Grease. Kitchen cabinets carry an invisible film of cooking oil that no damp cloth removes. Paint bonds to the grease, the grease lets go of the wood, and everything comes off together.
The prep sequence that works
- Remove doors, drawers, handles, and hinges. Label everything with painter's tape and a marker.
- Degrease with a proper kitchen degreaser — not dish soap. Let it dry fully.
- Lightly scuff the surface with fine sandpaper or a sanding sponge. You're not stripping; you're giving the primer something to grip.
- Wipe off dust with a tack cloth. Don't skip this.
- Prime with a bonding primer. One thin coat, two if the cabinets are dark.
- Paint two thin coats, not one thick one. Thin coats dry harder and level better.
Cure time matters more than dry time. Most cabinet paints feel dry in a few hours but take several days to fully harden. Rehanging doors the same evening is how you get fingerprints baked permanently into the finish. I now wait a full 72 hours. Annoying. Worth it.
What if your cabinets are thermofoil or laminate?
This is where a lot of advice online quietly fails. Thermofoil — that smooth, plasticky wrap common on 1990s and 2000s cabinets — does not accept paint well. It also peels at the edges on its own.
The honest answer: on thermofoil, painting is a gamble. If the foil is already lifting anywhere, don't paint over it. Either replace just the doors (keeping the boxes) or use a specialist bonding primer and accept that you may need to redo it in a couple of years.
Cheap kitchen remodel: what a real before-and-after looks like
A friend's kitchen, roughly 130 square feet. Original 1980s build, honey-oak doors, brass knobs, a single ceiling fixture.
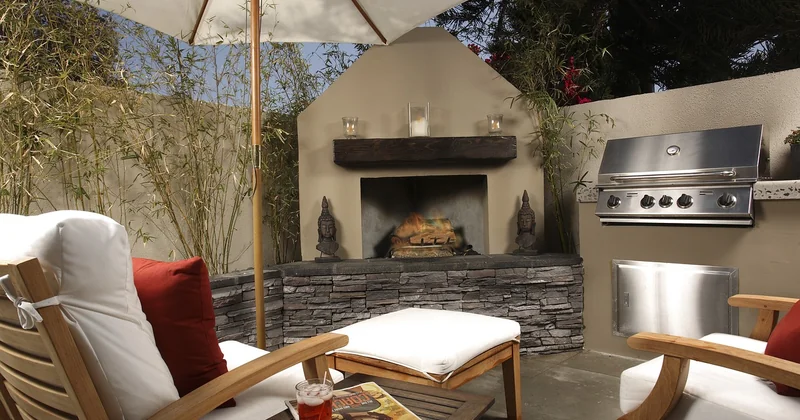
What we did:
- Degreased, primed, and painted the cabinet boxes and doors in a warm off-white — $310 in materials.
- Replaced 22 knobs and pulls with matte black bar handles — $140.
- Swapped the ceiling fixture for two track-style pendants — $220.
- Peel-and-stick backsplash in a matte subway pattern — $180.
- Refinished the laminate countertop with a DIY coating kit — $210.
Total: just over $1,000. Three weekends of work. The kitchen looked like a different room. Not a showroom — but a room you'd happily cook in and wouldn't apologise for.
Honestly, the countertop kit was the weakest link. It looked great for about a year, then showed wear near the sink where we set down hot pans. If I did it again, I'd put that $210 toward a remnant stone counter from a local fabricator instead.
Budget-friendly kitchen cabinets: the option nobody mentions first
Everyone jumps to painting. But there's a middle path that gets overlooked: replacing only the doors and drawer fronts while keeping the existing boxes.
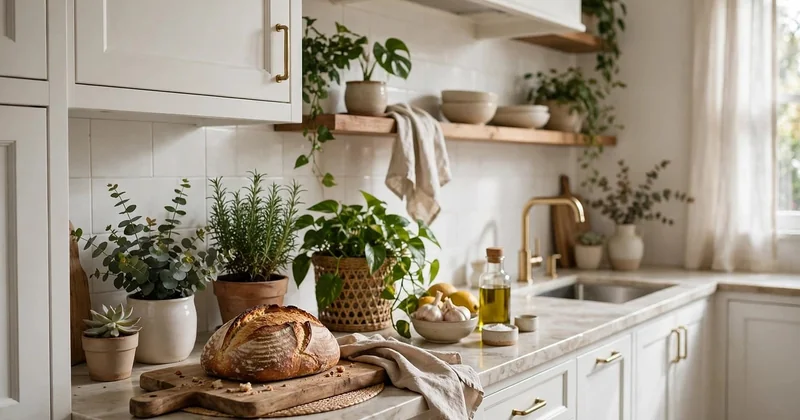
If your cabinet frames are solid — no water damage, doors that close square, boxes that aren't sagging — new fronts can cost a third of a full cabinet replacement and give you a genuinely new look. You're not fighting thermofoil or old paint. You just swap.
Where to source materials without paying retail
Three places I've had real luck:
- Architectural salvage yards — surplus doors, sometimes whole cabinet runs from demolished kitchens. Prices are unpredictable, which is exactly the point.
- Habitat-style ReStores — donated building materials sold cheap. Inventory changes weekly, so go often rather than expecting to find something on the first trip.
- Online marketplaces — people sell entire kitchen cabinet sets after a renovation. You need a van and a free weekend, but the savings can be steep.
The catch? You have to be flexible. If you need an exact match for a specific size, salvage is frustrating. If you can adapt, it's the cheapest route there is.
Four mistakes that turn a cheap remodel into an expensive one
I've made two of these. Learn from my pain.
- Painting over grease. Covered above. It's the number-one killer of DIY cabinet jobs.
- Applying adhesive film to a damaged surface. Peel-and-stick anything needs a smooth, sound substrate. On chipped laminate or cracked tile, it telegraphs every bump and lifts at the edges within months.
- Buying cheap hardware that doesn't match your drill template. Old knob holes rarely line up with new bar pulls. Measure the hole spacing before you order, or you'll be filling and re-drilling 20 doors.
- Upgrading in the wrong order. Spending $400 on a backsplash while the lighting still makes the room feel like a basement is money badly placed. Fix light first. It changes how every other material reads.
Lighting: the lever everyone forgets
Here's something that surprised me. When we swapped the single ceiling fixture for two pendants and added under-cabinet LED strips, guests asked if we'd replaced the countertops. We hadn't.
Light changes how colour reads. A warm off-white cabinet under cool fluorescent looks grey and sad. The same cabinet under warm LED looks intentional. Under-cabinet strips cost as little as $30 for a plug-in set and take twenty minutes to install. No electrician needed.
If you do one thing after painting, do this.
The kitchen you'll actually finish
The trap with kitchen remodels isn't the money. It's the scope. The moment you start thinking about moving a wall or rerouting a gas line, you've left the budget-friendly lane and you're not coming back.
Surface changes get finished. Structural ones stall half-done for years while you eat takeout next to a stack of drywall.
So start with the paint. Then the hardware. Then the light. Live with it for a month. You may find you never needed the rest — and if you do, you'll know exactly which upgrade earns its place.